Creating a professional publication requires careful planning and attention to detail. Whether you are designing a product catalog, a seasonal magazine, or an instructional manual, the physical attributes of your project speak volumes about your brand. High-quality booklet printing ensures that your message is not only read but also felt and remembered by your audience.
In this guide, we will explore the essential elements of booklet production. You will learn how to select the right dimensions, choose the perfect paper stock, and decide on a binding style that fits your needs. By the end, you will have the confidence to create a stunning printed piece that stands out.
Selecting the Right Booklet Size
The first step in any project is determining the physical dimensions. The size of your booklet influences how users interact with the content. For instance, a small, pocket-sized guide is perfect for portability, while a large format is ideal for showcasing high-resolution photography.
Common industry standards include the classic 8.5″ x 11″ and the more compact 5.5″ x 8.5″. The larger size provides ample space for detailed charts and large text, making it a favorite for corporate reports. Conversely, the smaller size is cost-effective and easy to distribute at trade shows or through the mail.
If you want to break away from tradition, square booklets offer a modern and artistic aesthetic. These are frequently used for lookbooks and high-end portfolios. When you invest in booklet printing, choosing a size that aligns with your brand identity is crucial for a cohesive user experience.
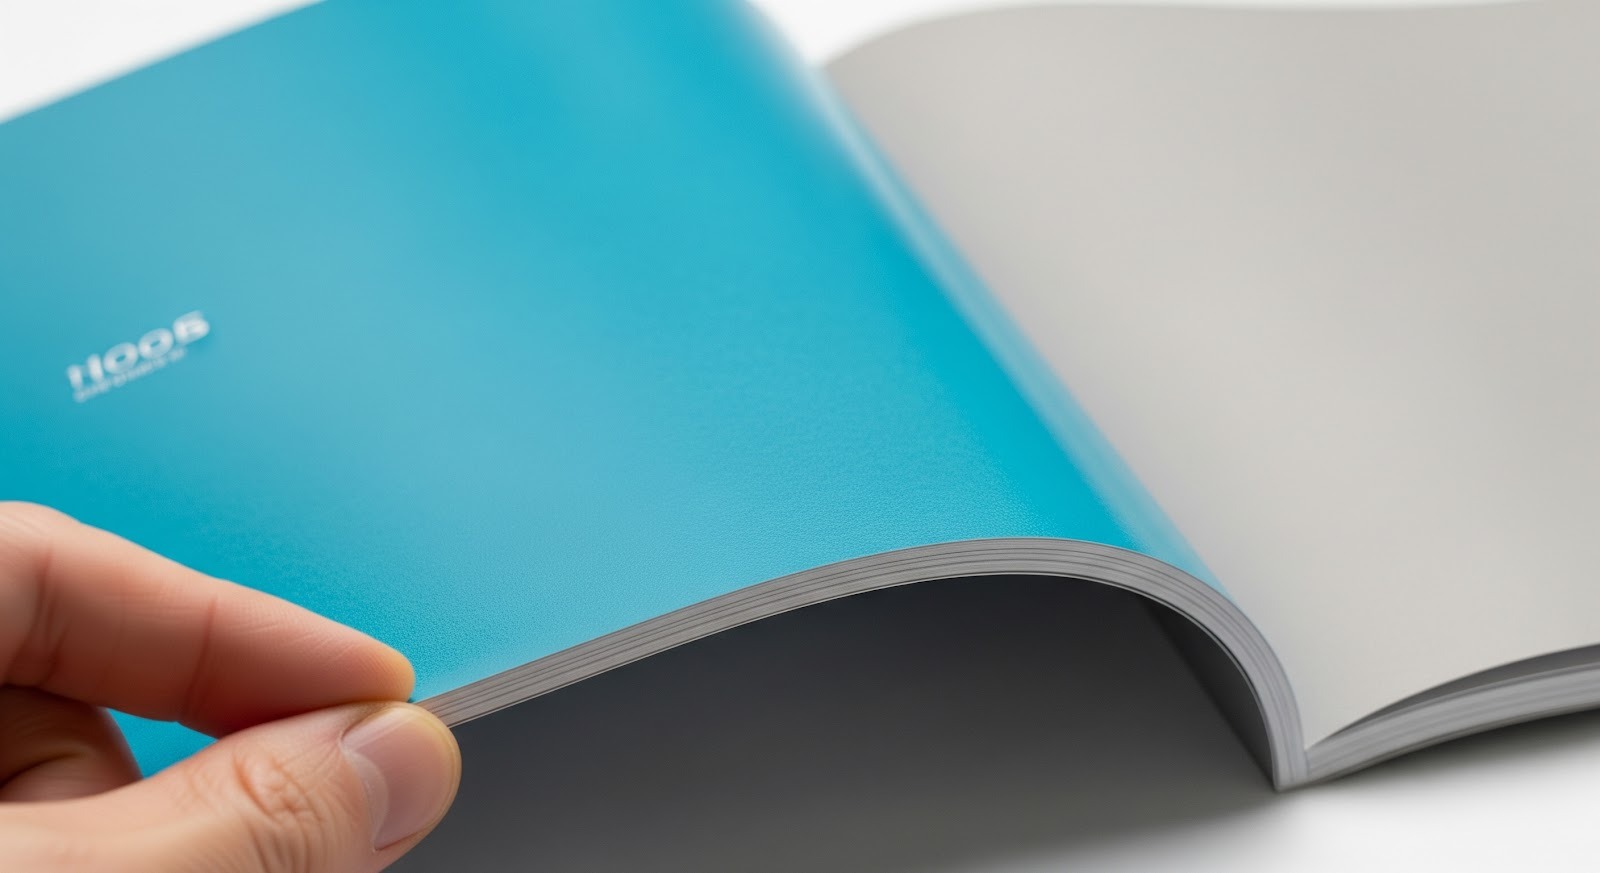
Understanding Paper Weights and Finishes
Paper choice is perhaps the most tactile part of the printing process. It affects the “heft” of the booklet and the vibrancy of the colors. Generally, paper is categorized into “text” weight and “cover” weight.
For the interior pages, a 70lb or 80lb text stock is standard. It is thick enough to prevent “show-through” from the opposite side but flexible enough to turn easily. For the exterior, a 100lb cover stock adds durability and a premium feel. This sturdier outer layer protects the internal content from wear and tear.
Beyond weight, you must choose a finish:
- Gloss: This finish makes colors “pop” and is perfect for image-heavy designs.
- Matte: This provides a non-reflective surface that is much easier to read under bright lights.
- Uncoated: This offers a natural, tactile feel and is the best choice if you expect readers to write inside the booklet.
How to Choose the Best Binding Method
Binding is what holds your hard work together. The method you choose depends on the page count and the intended use of the document. The most popular method for smaller projects is saddle stitching. This involves driving staples through the fold of the pages. It is economical and allows the booklet to lay relatively flat.
If your project is too thick for staples, usually over 40 to 60 pages, perfect binding is the way to go. This creates a squared-off spine, similar to a paperback book. It looks incredibly professional and allows printing on the spine itself, which is helpful for shelf organization.
For manuals or cookbooks that need to stay open on a desk, wire-o or spiral binding is the best solution. These allow the pages to rotate 360 degrees. Selecting the right binding during booklet printing ensures your document is functional for its specific purpose.
Designing for Print Success
Before sending your files to a professional shop like Guru Printers, you must ensure your design is print-ready. This means including “bleeds” in your artwork. A bleed is the area of your design that goes beyond the trim edge, ensuring no white borders appear after the pages are cut.
You should also keep a close eye on the “safe zone.” Keep all important text and logos at least 0.25 inches away from the binding edge. In perfect-bound books, some of the inner margin can get “lost” in the glue, a phenomenon known as the gutter. Adjusting your margins accordingly will keep your content legible.
Consistency is another key factor. Use a limited palette of fonts and colors to maintain a professional look. High-resolution images are non-negotiable; aim for at least 300 DPI to avoid any blurriness or pixelation in the final product.
The Importance of Professional Booklet Printing
While digital marketing is everywhere, the physical presence of a well-crafted booklet remains a powerful tool. It builds trust and provides a tangible connection between you and your customers. A flimsy, poorly printed guide can hurt your reputation, whereas a sharp, sturdy booklet reinforces your authority in your field.
Professional booklet printing gives you access to high-grade equipment and expert advice that home or office printers simply cannot match. From color calibration to precision trimming, the expertise of a professional printer ensures that your final product looks exactly as you envisioned it on your screen.
When you take the time to select the right size, paper, and binding, you are making an investment in your brand’s future. These physical details work together to create a finished product that people will want to keep, rather than toss away.
Final Steps and Ordering
Once your design is finalized and you have chosen your specifications, it is time to place your order. Always request a digital or physical proof before the full run begins. This allows you to catch any last-minute typos or layout issues that might have been missed during the design phase.
If you are looking for local expertise and fast turnaround times, check out our printing services to see how we can bring your project to life. Whether you need a small batch of event programs or thousands of catalogs, we are here to help you every step of the way!