Scientific Poster Printing

  • Width *

    Min: 16Max: 53

  • Height *

    Min: 16Max: 120

  • Sides *

  • Material *

  • Artwork *

  • Quantity *

  • Turnaround Time *

  • Weight Height Calculation *

  • Pricing Calculation *

  • Weight Calculation *

  • Upload (Front) *

    Max file size: 100 MBPermitted file types: jpg jpeg jpe png gif pdf eps

Scientific Poster Printing Specifications:

Scientific poster printing

Poster Sizes Available:

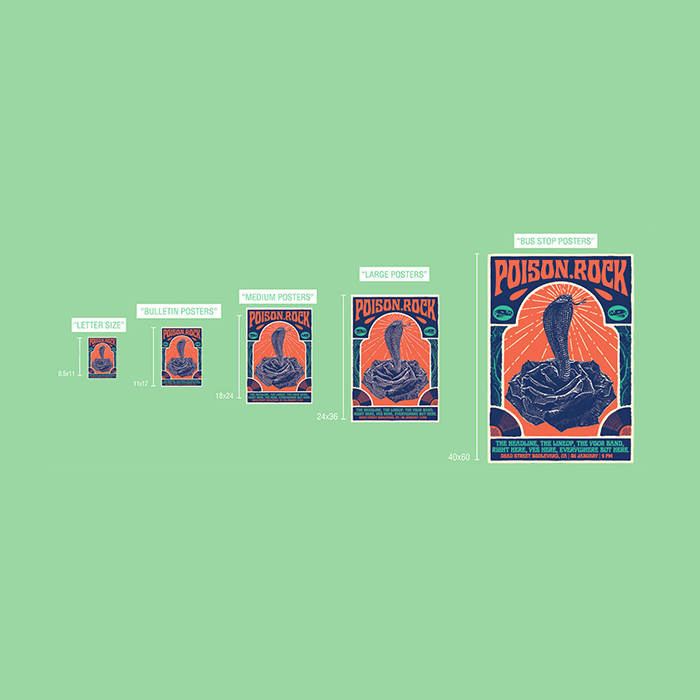
  • Sizes range from 16″ x 16″ to 53″ x 120″

Paper Options:

  • Matte Poster Paper
  • Glossy Poster Paper

Design Options:

At Guru Printers we offer great options for cheap poster printing Los Angeles. We know you’re busy, so we want this process to be as smooth and efficient as possible. If you have a design in mind, format your image as a PDF, upload it, and your posters will begin processing.

If you would rather not design your own posters, we offer in-house graphic designers who can send you several poster design options. You can be as hands-on or hands-off as you wish. If you have specific graphics, photos, or template ideas, send them our way. If you’d rather leave it up to us, just supply the text and we’ll provide the rest!

Cutoff time for all orders is 8:00 AM PST (Monday-Friday) to include the day of. Please note, turnaround time does not include Digital proof preparation.

Make Your Research Shine: Scientific Poster Printing Done Right

In the world of academia and scientific conferences, a well-designed and visually appealing poster is essential for effectively communicating research findings and garnering attention. Scientific poster printing plays a crucial role in ensuring that your work stands out and leaves a lasting impression on colleagues and peers. In this article, we’ll explore the key considerations for scientific poster printing, best practices for design, and how to make your research shine on the conference floor.

Clarity and Conciseness

The primary goal of a scientific poster is to communicate research findings clearly and concisely. When designing your poster, focus on presenting key information in a format that is easy to understand and navigate. Use clear headings, bullet points, and concise text to convey your research question, methodology, results, and conclusions effectively. Avoid cluttering the poster with unnecessary details or jargon that may overwhelm viewers.

Visual Appeal and Organization

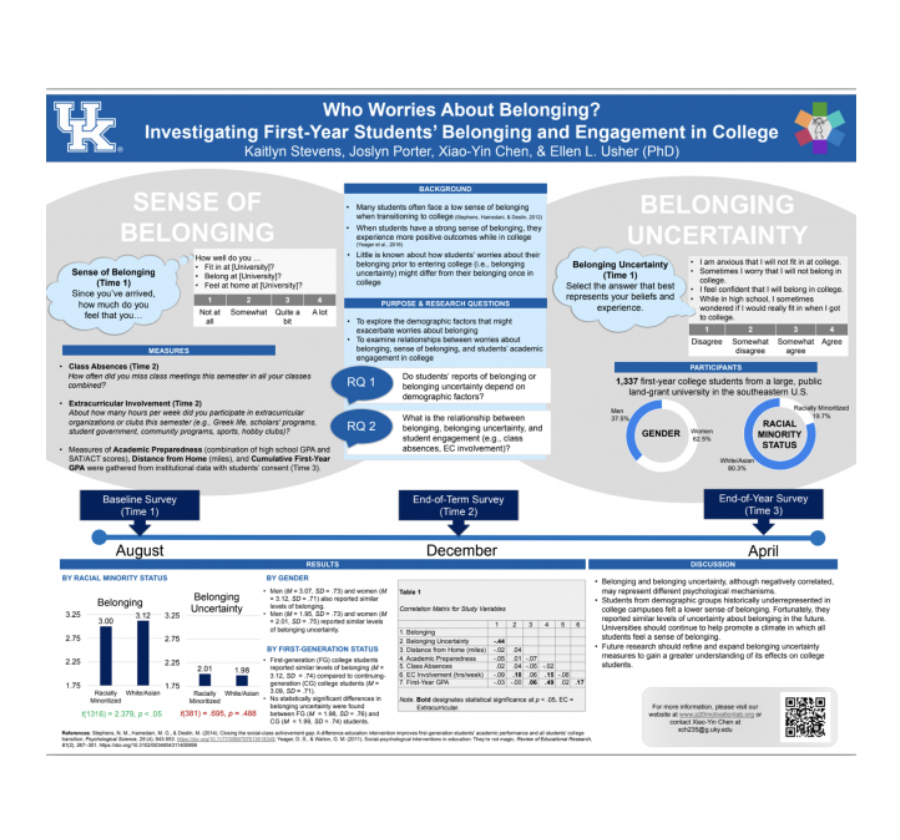
A visually appealing poster layout is essential for capturing the attention of conference attendees and drawing them in to learn more about your research. Use high-resolution images, charts, and graphs to illustrate key findings and support your conclusions. Organize content in a logical flow, with sections clearly delineated and easy to follow. Utilize color schemes and fonts that are visually appealing and consistent with your research topic and branding.

Professional Printing and Materials

Investing in professional printing for your scientific poster is crucial for ensuring high-quality results that reflect the importance of your research. Choose a reputable printing company that specializes in scientific posters and offers high-resolution printing on quality materials. Opt for durable paper or fabric options that will withstand transportation and display at conferences without wrinkling or tearing. Consider additional finishing options such as lamination or mounting for added durability and visual appeal.

Accessibility and Readability

Accessibility is key when presenting scientific posters at conferences, where attendees may have limited time to engage with each poster. Ensure that your poster is easily readable from a distance, with text and graphics large enough to be legible without straining the eyes. Use clear and simple language to convey complex concepts, making your research accessible to a wide audience of fellow scientists and researchers.

Engaging Presentations and Networking

In addition to a well-designed poster, effective presentation skills are essential for engaging with conference attendees and discussing your research in-depth. Practice delivering a brief overview of your poster that highlights key findings and invites questions and discussion. Be prepared to engage with viewers one-on-one, answering questions and providing additional context about your research. Use the opportunity to network with colleagues and peers who share similar research interests, fostering collaborations and future opportunities for collaboration.

Conclusion: Making Your Research Stand Out

In conclusion, scientific poster printing is an essential aspect of effectively communicating research findings and showcasing your work at conferences and academic events. By prioritizing clarity, visual appeal, professionalism, accessibility, and engaging presentation skills, you can make your research stand out and leave a lasting impression on colleagues and peers in your field. Invest in high-quality printing and design, and take advantage of networking opportunities to maximize the impact of your scientific poster presentations.

Shipping Timeframes

California

shipping times based on Pacific Standard Time product shipping information
Guru Printers produces all orders respective to when they are processed and batched on the production queue. Although, we try our best to produce all orders accordingly based on your geographical proximity to a production facility, we cannot make any guarantees that your item will be produced out of a specific location.

File Setup

In order to ensure your files are print-ready, we recommend that you upload them in PDF format. When you generate a print-ready PDF, your computer will use the settings in Adobe Acrobat Distiller or any other PDF generating programs you may use. Please make sure that these are set properly before generating your PDF file.

If you are uploading PDF files created in Photoshop, please be sure all layers are flattened.

We also accept .JPG (JPEG), and .TIF (TIFF) file types, however PDF is the preferred format.

Check your file to make sure it meets our file creation guidelines. This will help speed up the production of your project and give your printed piece the best results.

  1. Use the CMYK colorspace (Cyan, Magenta, Yellow, blacK). These are industry standard printing colors. CMYK colors are different than RGB (Red, Green, Blue), which are used to display colors on your screen.
  2. Use a minimum resolution of 300 dpi for image files.
  3. Specify trim area with crop marks. (Don’t place crop marks inside the work area.)
  4. Artwork should have 1/8″ (0.125″) bleed extending past the trim line. This is to prevent minor cutting variations from leaving unintended results at the trim edge.
  5. Safe Area is the 1/8″ (0.125″) area inside the trim line. Do not put critical information or images within the Safe Area. This is to prevent minor cutting variations from leaving unintended results at the trim edge.
  6. If you want printed borders, they must be placed a minimum of 1/8″ (0.125″) inside the trim line and include bleed. This is to prevent minor cutting variations from leaving unintended results at the trim edge.
View our File Setup Templates