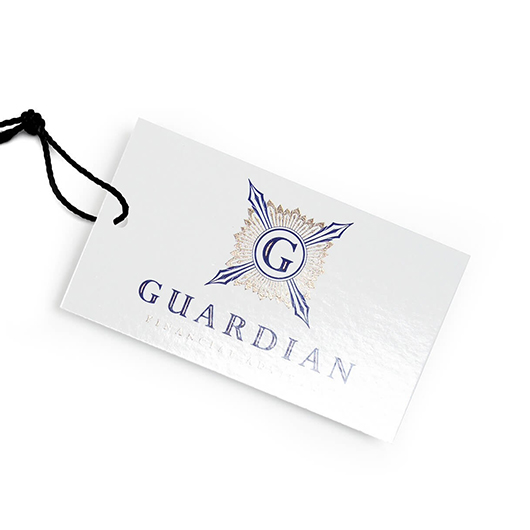
Glossy UV Coated Hang Tags

  • Sizes *

  • Sides *

  • Weight *

  • Hole Drill *

  • Artwork *

  • Quantity *

  • Turnaround Time *

  • Upload Files (Front) *

    Max file size: 200 MBPermitted file types: jpg jpeg jpe gif png pdf eps

  • Upload Files (Back) *

    Max file size: 200 MBPermitted file types: jpg jpeg jpe gif png pdf eps

  • Get Sheet Value *

  • Weight Calculation *

Hang Tag Printing Specifications:

Sizes Available:

  • 1.5″ x 3.5″
  • 2″ x 2″
  • 2″ x 4″
  • 2″ x 6″
  • 3″ x 3″

Hang Tag Paper:

  • 16pt Card Stock

Coating:

  • Glossy UV Coating

Hole Drill:

  • Top Center 1/8″ hole. (String not included)

Hang Tag Design Options:

We know you’re busy, so we want this process to be as smooth and efficient as possible. If you have a design in mind for your custom hang tag, Los Angeles format your image as a PDF (front and back of the postcard, please), upload it, and your hang tags will begin processing.

If you would rather not design your own hang tags, we offer in-house graphic designers who can send you several design options. You can be as hands-on or hands-off as you wish. If you have specific graphics, photos, or template ideas, send them our way. If you’d rather leave it up to us, just supply the text and we’ll provide the rest!

Cutoff time for all orders is 8:00 AM PST (Monday-Friday). Orders placed after cutoff time will be reconciled the following business day. Please note, turnaround time does not include Digital proof preparation.

Products Description:

Guru Printers: Hang Tags Los Angeles.

Hang tags are a necessity for any apparel company. The purpose of hangs is to promote your company’s brand by being attached to the clothing or apparel item. Custom hang tags are a great way to get the word out and to create brand awareness for your company.

Los Angeles has a wide variety of print shops for luxury hang tags but Guru Printers is your number one choice for printing services near DTLA and in the Los Angeles area. We offer speedy turnaround times with the convenience of local pickup in Downtown Los Angeles.

Rectangular hang tags can be printed in full color with a variety of different options.

Shipping Timeframes

California

shipping times based on Pacific Standard Time product shipping information
Guru Printers produces all orders respective to when they are processed and batched on the production queue. Although, we try our best to produce all orders accordingly based on your geographical proximity to a production facility, we cannot make any guarantees that your item will be produced out of a specific location.

File Setup

In order to ensure your files are print-ready, we recommend that you upload them in PDF format. When you generate a print-ready PDF, your computer will use the settings in Adobe Acrobat Distiller or any other PDF generating programs you may use. Please make sure that these are set properly before generating your PDF file.

If you are uploading PDF files created in Photoshop, please be sure all layers are flattened.

We also accept .JPG (JPEG), and .TIF (TIFF) file types, however PDF is the preferred format.

Check your file to make sure it meets our file creation guidelines. This will help speed up the production of your project and give your printed piece the best results.

  1. Use the CMYK colorspace (Cyan, Magenta, Yellow, blacK). These are industry standard printing colors. CMYK colors are different than RGB (Red, Green, Blue), which are used to display colors on your screen.
  2. Use a minimum resolution of 300 dpi for image files.
  3. Specify trim area with crop marks. (Don’t place crop marks inside the work area.)
  4. Artwork should have 1/8″ (0.125″) bleed extending past the trim line. This is to prevent minor cutting variations from leaving unintended results at the trim edge.
  5. Safe Area is the 1/8″ (0.125″) area inside the trim line. Do not put critical information or images within the Safe Area. This is to prevent minor cutting variations from leaving unintended results at the trim edge.
  6. If you want printed borders, they must be placed a minimum of 1/8″ (0.125″) inside the trim line and include bleed. This is to prevent minor cutting variations from leaving unintended results at the trim edge.
View our File Setup Templates